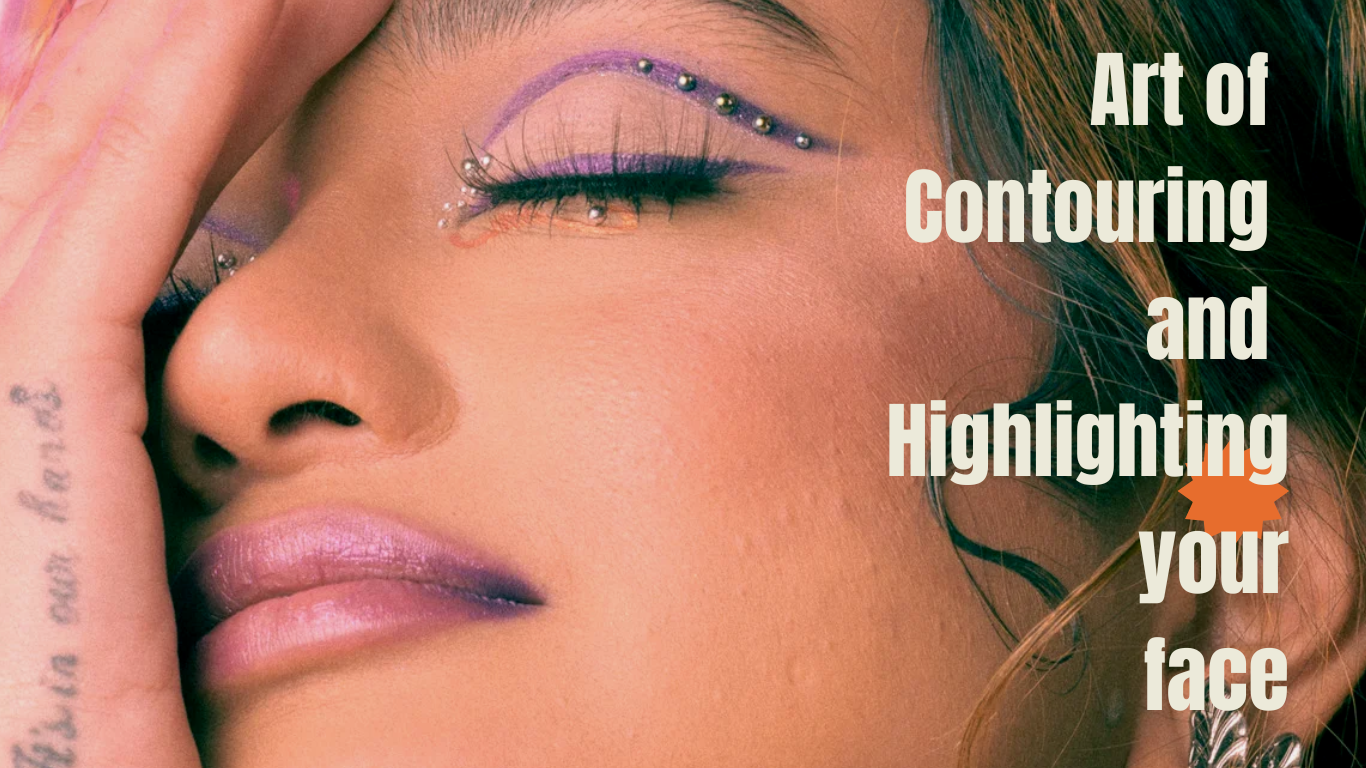
The art of contouring and highlighting has transformed the realm of beauty, providing methods to shape and accentuate facial contours for a refined appearance. Learning these skills might appear challenging, yet with the proper equipment and instruction, you can attain a polished result. Follow these steps to contour and highlight with expertise.
Understanding Contouring and Highlighting
Contouring is the process of applying a matte product that is slightly darker than your natural skin color to cast shadows and accentuate features like the cheekbones, jawline, and nose. On the other hand, highlighting employs a lighter product than your skin tone to highlight features and add a luminous effect to areas such as the cheekbone tops, brow bone, and the nose bridge.
- Tools and Products You’ll Need
- Contour Product: Pick a cream or powder contour product. Creams mix effortlessly and provide a natural appearance, whereas powders are simpler for those new to makeup.
- Highlighter: Choose a color that matches your skin tone. Go for a gentle shimmer for a natural appearance or a bolder shine for a striking look.
- Brushes: Utilize a brush with an angle for contouring and a brush with a fan or tapered shape for highlighting. A blending sponge is crucial for achieving a smooth finish.
- Step-by-Step Guide to Contouring
- Prep Your Face: Begin with a clean, hydrated complexion. Use a primer to keep your makeup secure.
- Apply Foundation: Level out your skin color with foundation and concealer, setting the stage for sculpting and accentuating.
- Contour the Cheekbones: Pucker your lips to locate the hollows. Draw the contour product from your ear to the corner of your mouth, making a stop midway. Mix well to soften the edges.
- Create Jawline Definition: Draw the contour along your jawline, blending it downward to form a shadow that accentuates the jaw.
- Tone Down the Nose: Utilize a small brush to spread the contour along the nose sides, mixing it well to prevent stark lines.
- Modify Forehead Shape: Apply the contour along the hairline, blending it with your hair to make your forehead look smaller if you wish.
- Step-by-Step Guide to Highlighting
- Highlight the Cheekbones: Gently spread highlighter across the top of your cheekbones, sweeping it towards your temples for a lifted appearance.
- Brighten the Eyes: Use a bit of highlighter on your brow bone and the inner corners of your eyes to make them look more open and brighter.
- Emphasize the Nose: Apply a light layer of highlighter along the bridge of your nose, stopping just before the tip to prevent a shiny look.
- Make the Cupid’s Bow Pop: A little highlighter on your cupid’s bow can make your lips seem fuller.
- Illuminate the Forehead and Chin: A small amount of highlighter on the center of your forehead and chin can give you a balanced, glowing look.
Blending and Finishing
Mixing is essential for creating a natural appearance. Apply a slightly moist beauty sponge or a freshly cleaned brush to smoothly merge the contour and highlight items with your skin. Finish off your makeup with a clear powder to make sure it remains intact throughout the day.
Through practice and the correct methods, contouring and highlighting can turn into an easy step in your daily makeup regimen, allowing you to shape and boost your features with expertise.


